
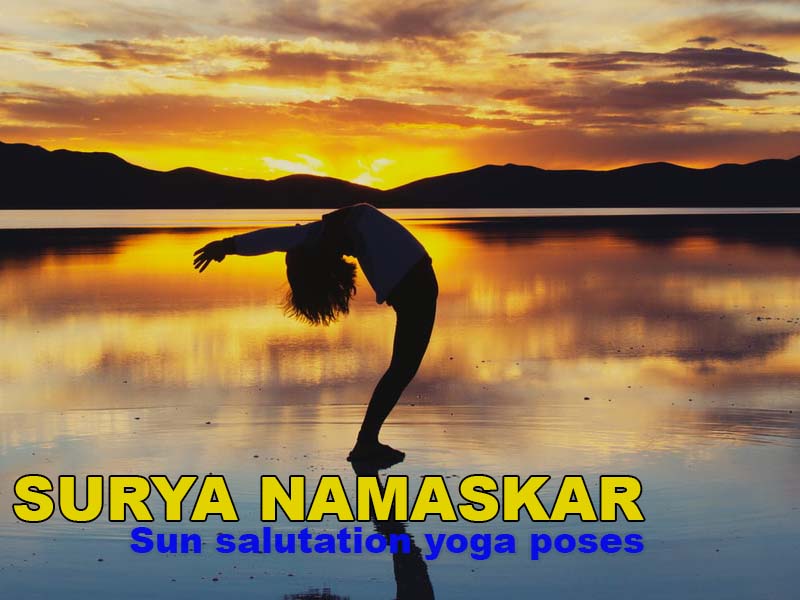
Surya Namaskar or sun
salutation is a sequence of 12 powerful Yoga asanas (poses) which helps the
practitioners to enhance their general health, vitality and flexibility and is
said to even cure chronic illnesses.
Controlling movements (chalana)
and position (sthithi) of one’s body, gaze, breath and mind while
enjoying the stillness and bliss is termed as Yogasana. Swasana
kriyas (breathing exercises), Pada vyayamangal (leg exercises), Kara
vyayamangal (arm exercises), Greva vyayamangal (eye exercises), Merudanda
vyayamangal (spinal exercises) and finally three namaskaras, namely Surya
namaskara, Chandra namaskara, Anangarathi namaskara, constitute Yoga
vyayamas.
Surya Namaskara, a combination of several
spinal positions with rhythmic breathing and rapid movements, is usually performed
early in the morning facing the rising sun. Though there are many variations,
the Sivananda style of Surya Namaskara is the popular one.
According to Swami
Shivananda, Surya Namaskara consists of 12 postures or stages, each to
be performed smoothly and gracefully. While it involves certain vigorous movements,
the practitioner should adhere to the key rule in Yoga – avoid undue strain.
While performing Surya Namaskara,
the practitioner should be conscious of every movements of the body and the
mind and examine his/her breathing process. He/She should pay attention to even
minute changes that take place in the body, especially the spine and the breath.
Starting position
You should stand erect with
your head and body straight but relaxed. The feet should be placed together
with the body weight centered on the balls of the feet. The knees should be straight
and the arms relaxed by the side of the body.
Take a deep inhalation and begin
1) Exhale; bring your hands
together at the centre of the chest with the palms flat against each other.
Elbows are out towards the sides, knees straight but relaxed and the head erect.
Known as prayer position, this is a powerful physical, mental and psychic centering
exercise.
2) Inhale and stretch your arms up over head.
Arch your body backwards. Knees and elbows should be straight. Arms should be
placed alongside the ears. Hips must be arching forward.
3)
Exhale as you bend forward, bringing the hands to the floor next to the feet.
If you can’t put your hands on the floor with the knees straight, you may
bend the knees slightly. Make sure the fingers and toes are in a straight line
and the head towards the knees. Hands should
be placed on the floor as flat as possible.
4) Without
moving your hands, inhale and stretch the right leg back as far as possible.
Drop the right knee to the ground. Stretch the head up. Hands should remain on
the floor next to the feet in straight line.
5)
As you retain the breath, bring the other leg back. Body should be in a
straight line (often known as the ‘Push-up’ position) from head to heels. Don’t
lift the hip. Don’t drop the head.
6) (Namaskara
position) Exhale; Drop the knees straight down to the floor. Keep the hips up
without rocking the body backwards, bring the chest straight down to the floor (between
the hands). Bring the forehead to the floor.
7)
Inhale as you slide the body forward until the hips are on the ground. Arch the
chest up and bring the head back. Legs and hips should remain on the ground.
Don’t move the hands as you perform this pose. Elbows should be slightly bent
and there should be no tension in the shoulders.
8) Exhale; touch the toes
under. Without moving hands or feet, bring the hip up as high as possible. Push
the heels towards the floor. Hands should be flat on ground and the head between
the arms. Look at your feet. This is known as inverted V position.
9) Inhale:
Bring the right foot forward between the hands so that fingers and toes are
lined up. Drop the left knee to the floor and stretch the head up. Same as
position 4. (Right and left hands should alternatively come forward on
alternate salutations).
10) Without
moving hands, exhale as you bring the left foot forward and placed next to the
right foot. Forehead should be towards the knees – same as in position 3. Keep
the hip as high as possible. Fingers and toes should be in a straight line.
11) Inhale; Stretch
up and arch backwards as in position 2.
12) Exhale as you bring your arms forward and
downward alongside your body, returning to the starting position. Relax and take
a deep breath.
(The author K R Manoj is
Director, Shiva Shakthi Yoga Vidyakendra and Editor, Vijnanan Bharathi)